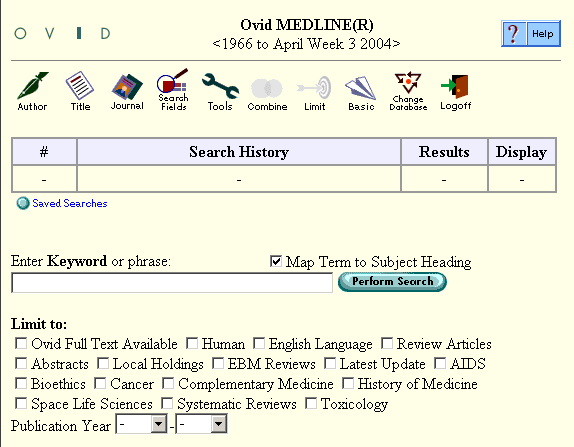

Let's take a closer look at each part of the screen.


Later, after we've done a search, it will look like this:

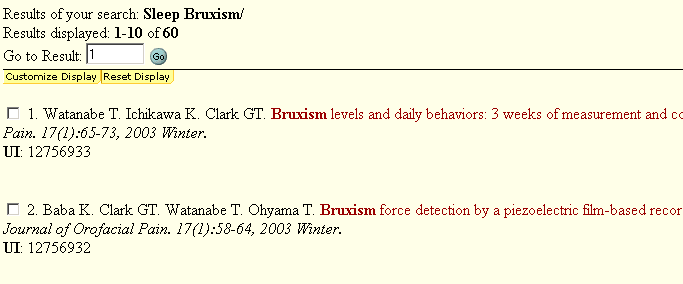
This shows we searched for the Subject Heading Sleep Bruxism and found 60 articles. The "/" after the Subject Heading means that we included all subheadings (subheadings will be explained later).
Clicking ![]() will take us down the page to the first ten results of our search:
will take us down the page to the first ten results of our search:

After we've done two searches, the Search History will look like this:

This still shows our first search (# 1), but it also shows we did a second search,
for the Subject Heading Occlusal Splints, and included all subheadings,
and got 738 results. We can see the results of either
search by clicking the ![]() button next to it.
button next to it.


 Test yourself! (This mini quiz has 3 questions.)
Dental Library home page
All contents copyright Margaret Fulford © 2004. All rights reserved.